Hands-On Configuration
Introduction
In this section we’ll walk through the following deployment and configuration tasks for ThousandEyes.
- Deploy a ThousandEyes Enterprise Agent in AWS
- Create a ThousandEyes Web HTTP Server Test
- Configure a Dashboard in ThousandEyes
Deploy ThousandEyes Agent
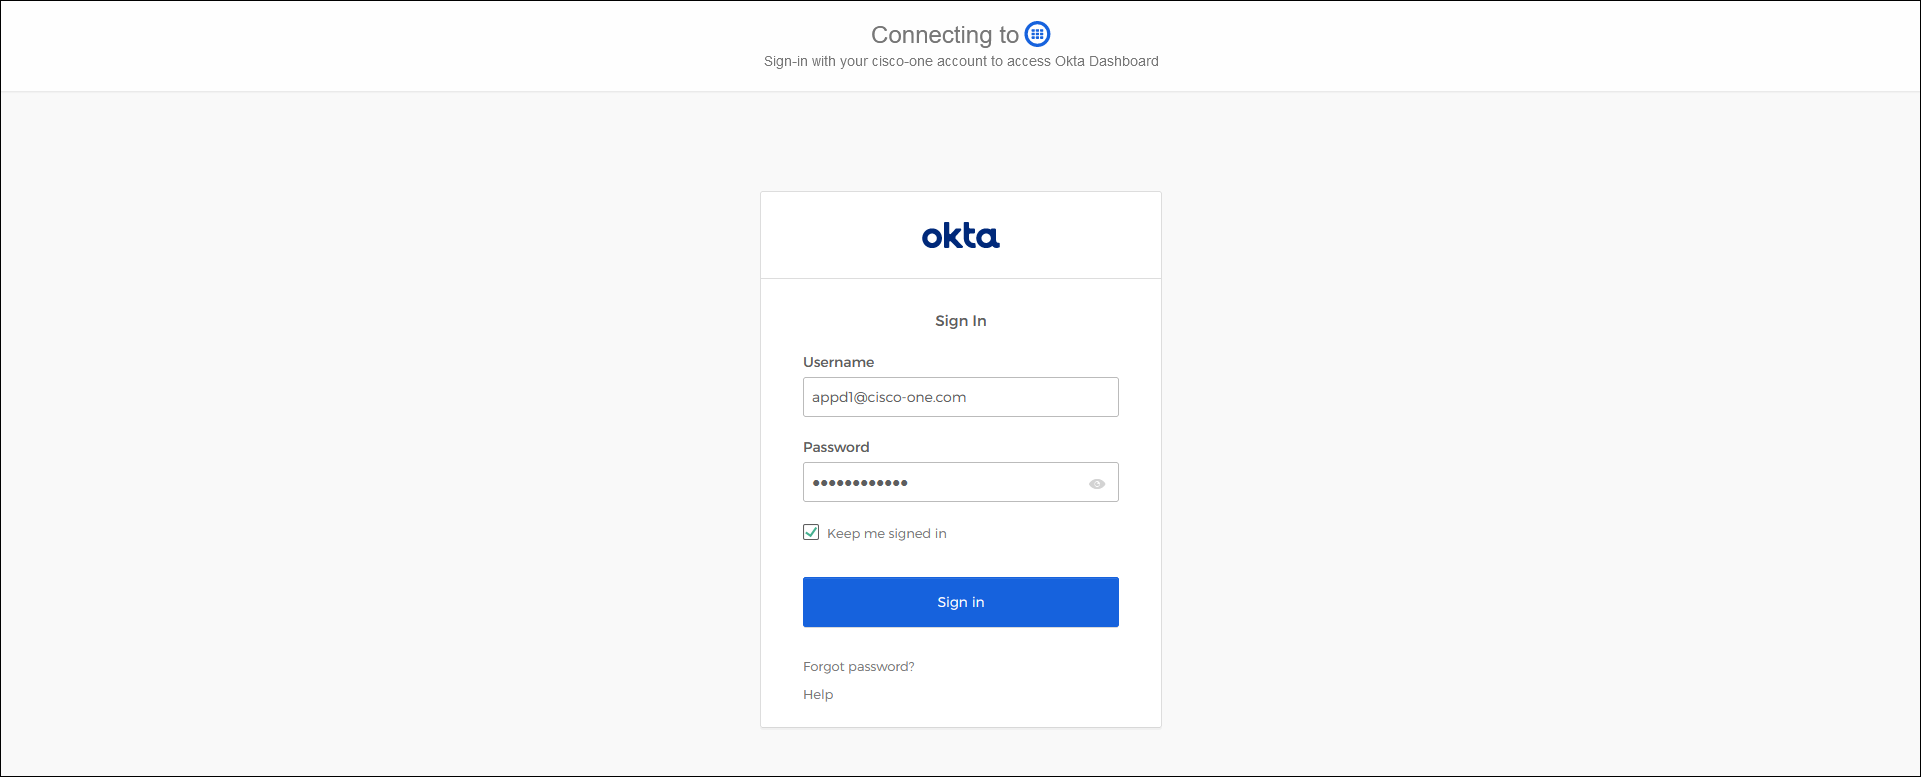
Use the URL below to navigate to okta in your browser.
https://cisco-one.okta.com/Enter the Cisco User email (email ending in @cisco-one.com) provided by your instructor for the Username and the associated Cisco Password for the Password and click on the Sign in button.
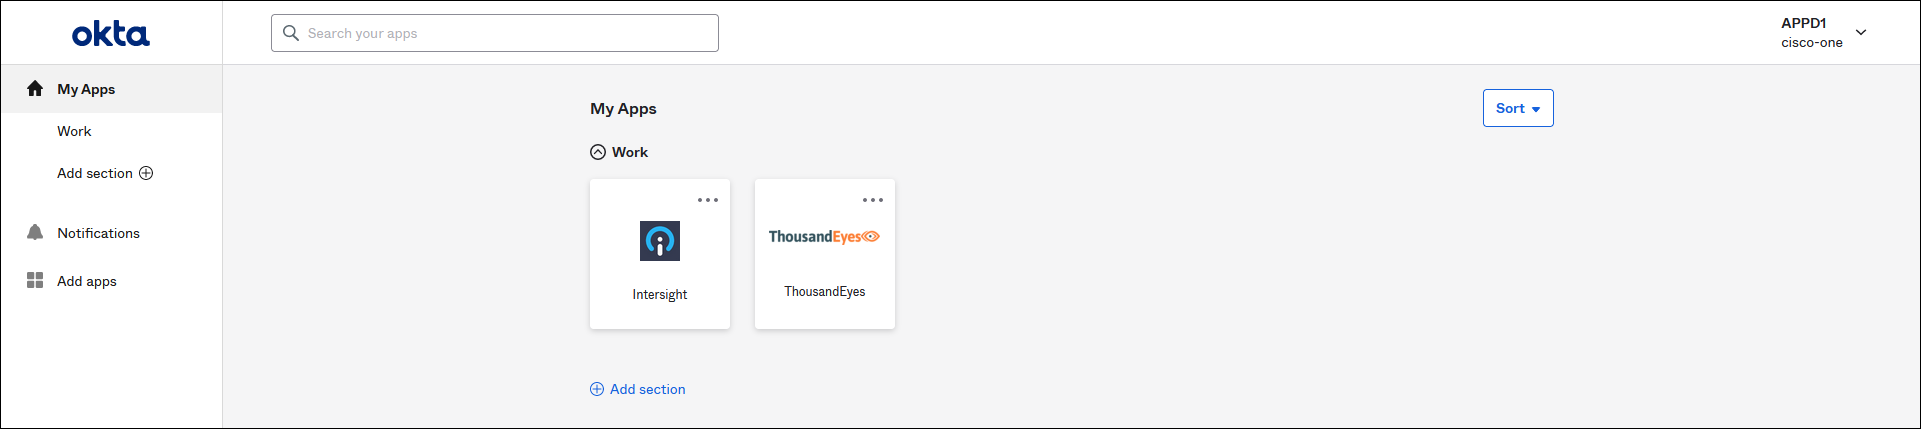
Now click on the ThousandEyes tile to login to ThousandEyes.
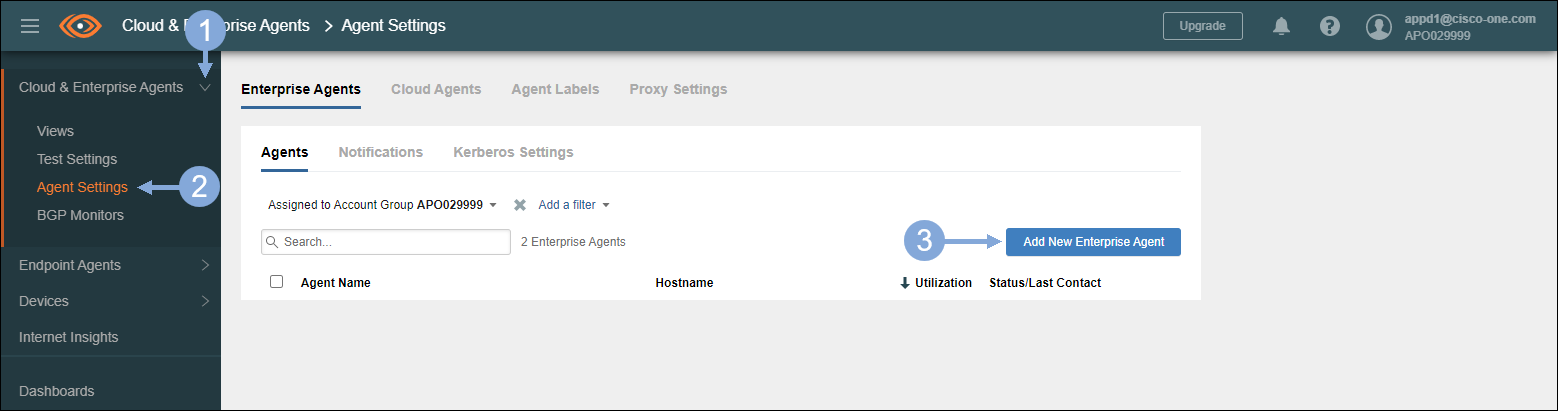
Use the steps below to begin the creation of a new enterprise agent
- Click on the Cloud & Enterprise Agents tab to expand the menu on the left
- Click on the Agent Settings menu option
- Click on the Add New Enterprise Agent button on the right
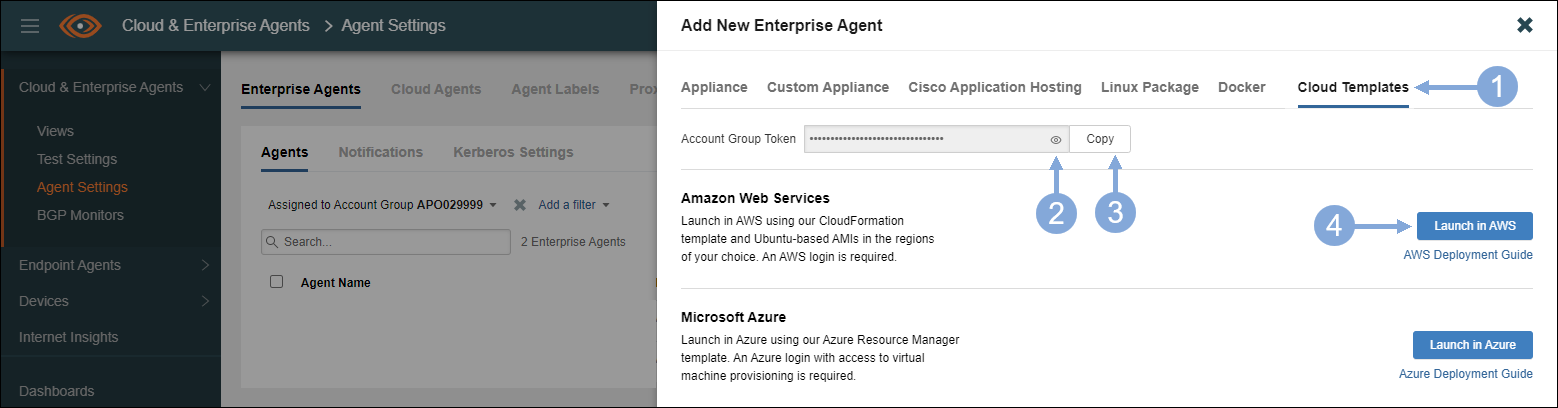
Use the steps below to obtain your Account Group Token and open AWS to complete the CloudFormation template
- Click on Cloud Templates
- Click on the eyeball icon to display the Account Group Token
- Click on the Copy button to copy the Account Group Token and then save it for later
- Click the Launch in AWS button (this will open another window with the AWS console login)
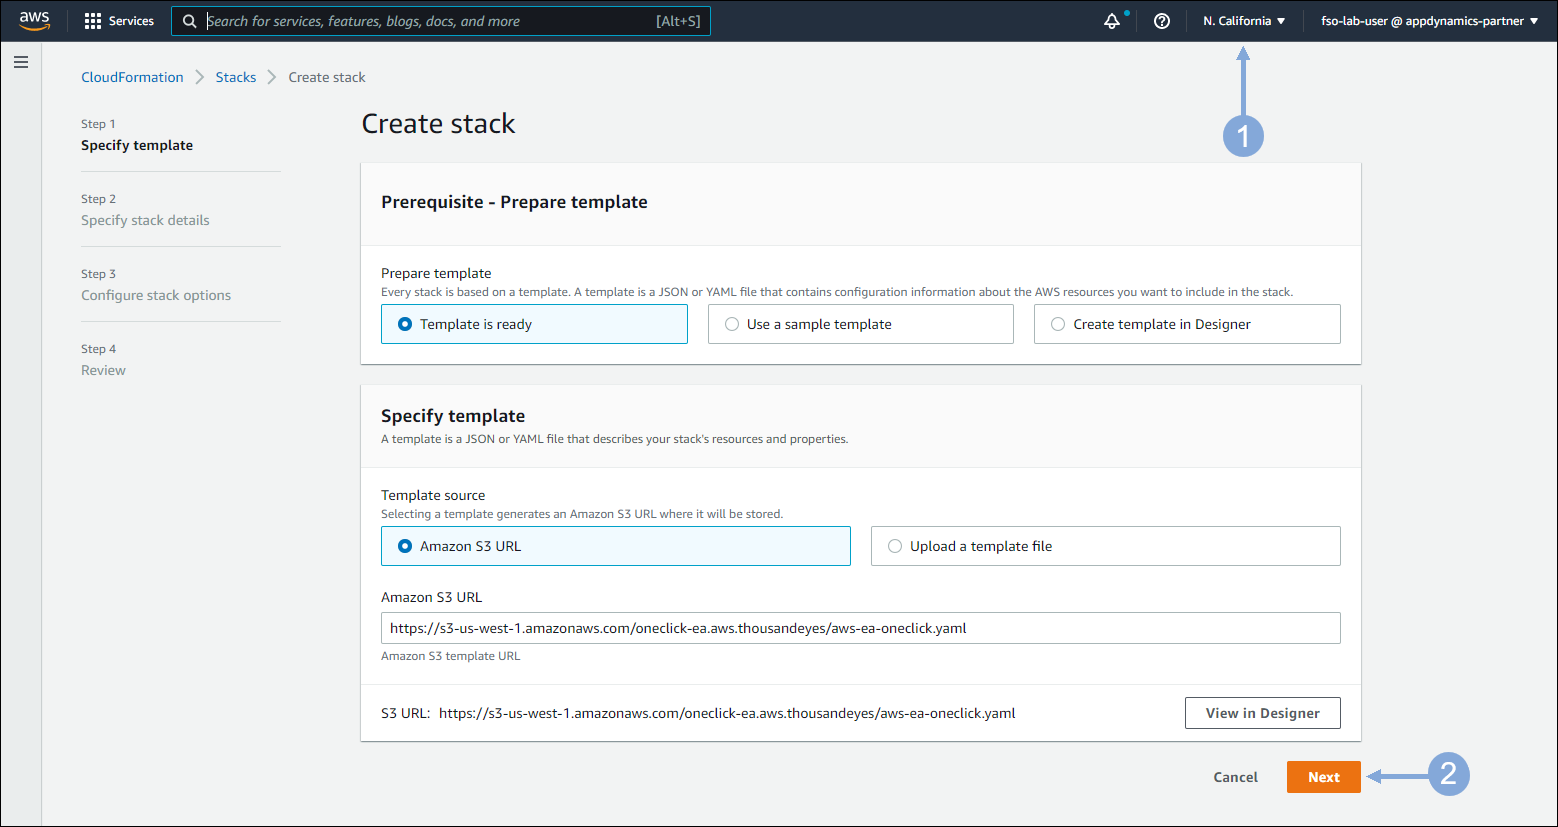
Now you should see the Create Stack screen
- Change the region to N. Califronia if it did not default to that region
- Click on the Next button
Use the command below in your Cloud9 terminal to obtain the EKS cluster name you’ll need in the next step
echo $aws_eks_cluster_nameThe output should look like the image below.

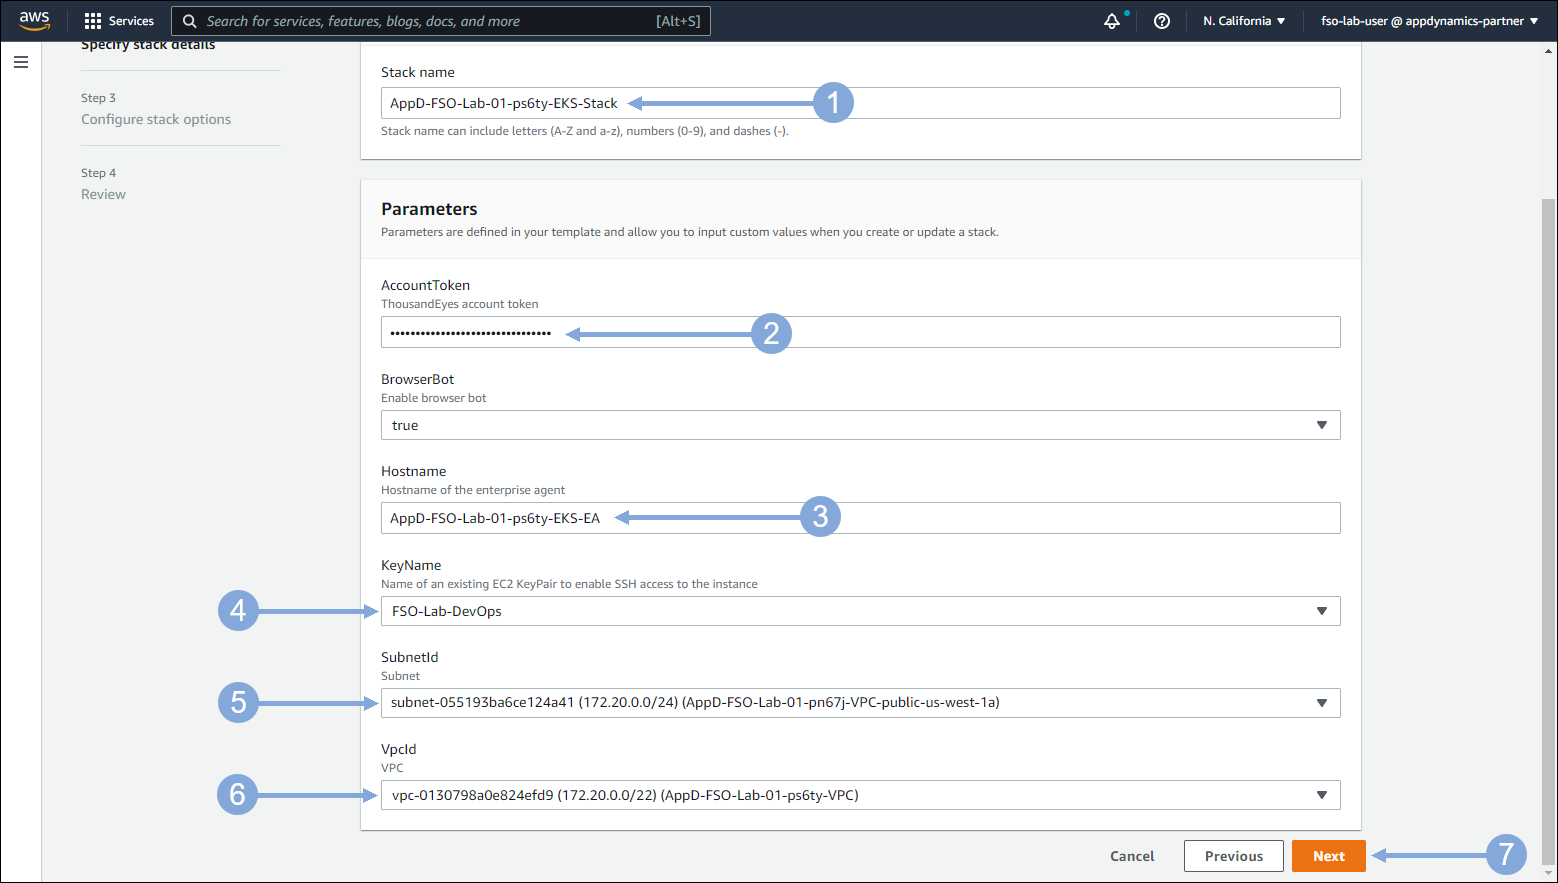
Use the steps below to complete the second page of the CloudFormation template
- Enter your EKS cluster name with -Stack at the end for your stack name
- Paste the Account Token you copied earlier
- Enter your EKS cluster name with -EA at the end for your Hostname
- Select FSO-Lab-Dev-Ops for your KeyName
- For Subnet ID type your lab # (for example – Lab-01) to filter your subnets and select one of your public subnets
- For VPC type your lab # (for example – Lab-01) to filter your VPC and select your VPC ID
- Click the Next button
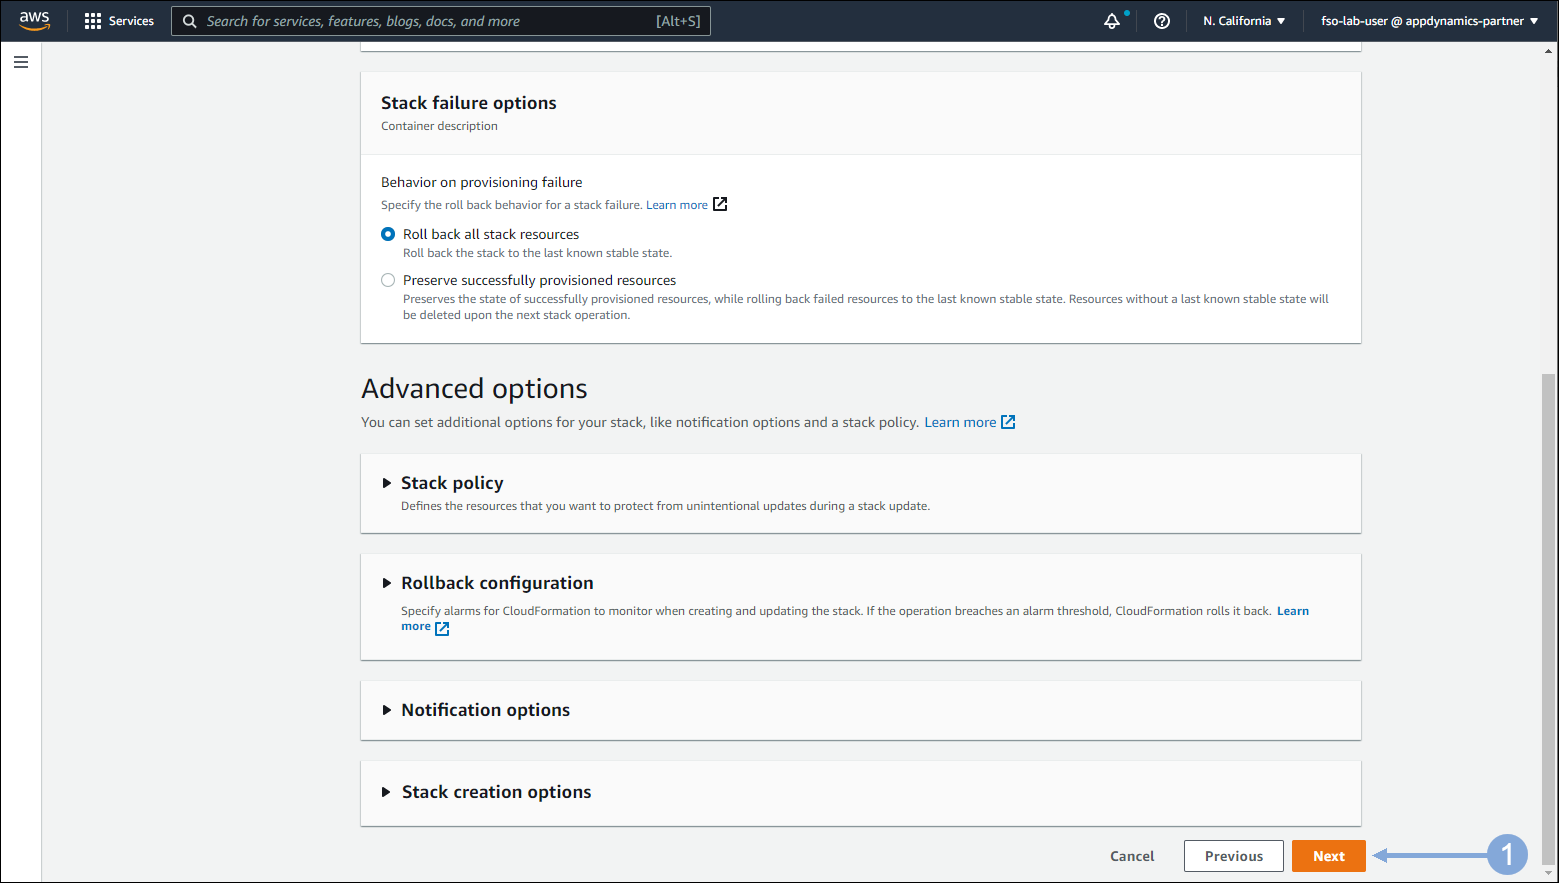
Click on the Next button
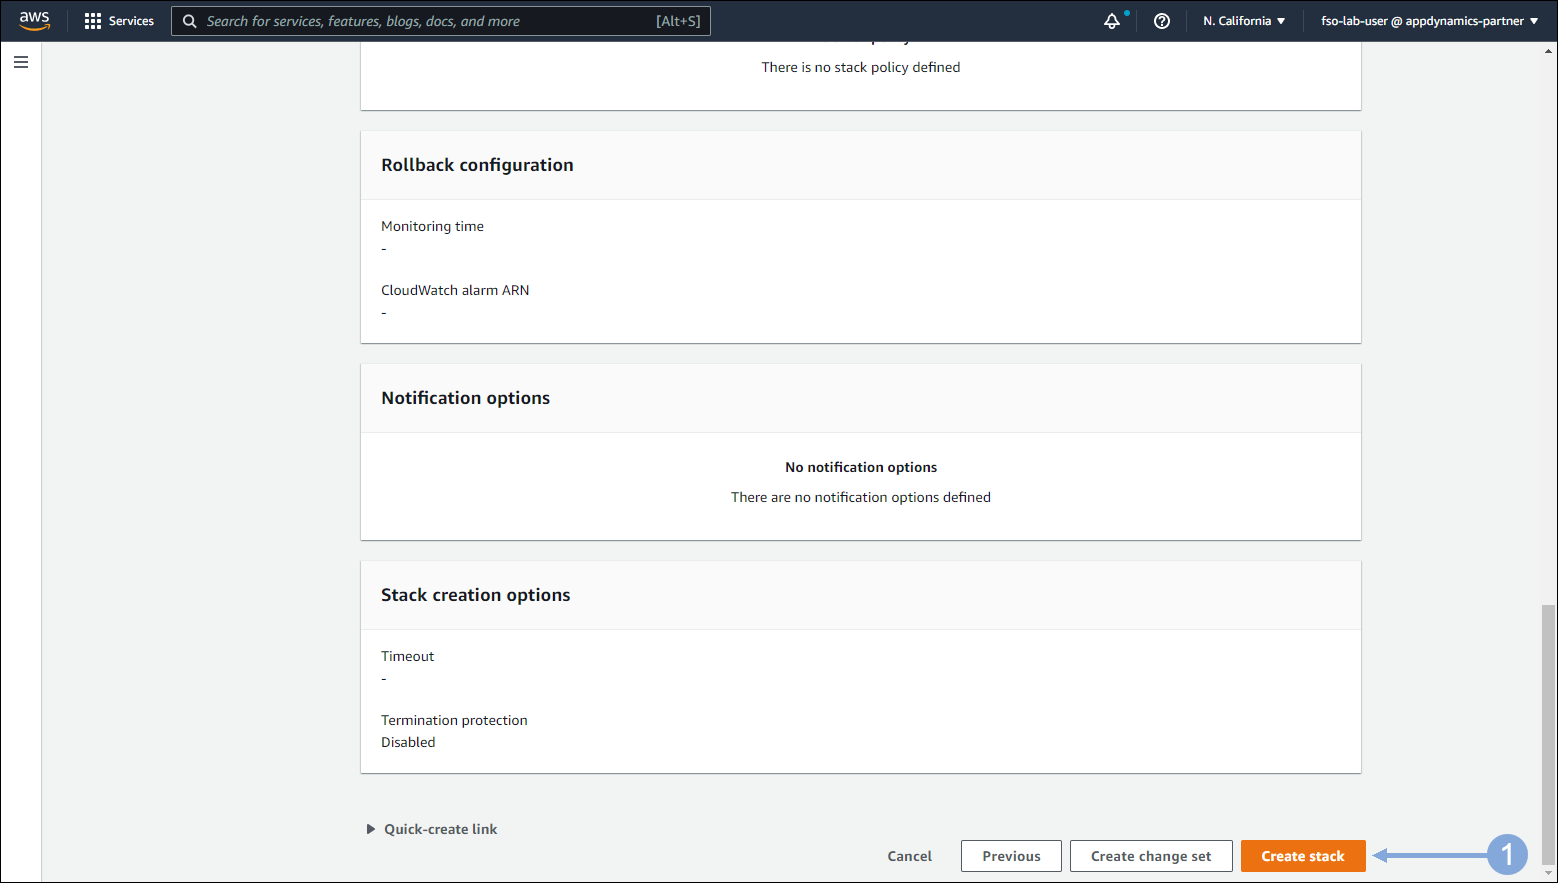
Click on the Create stack button
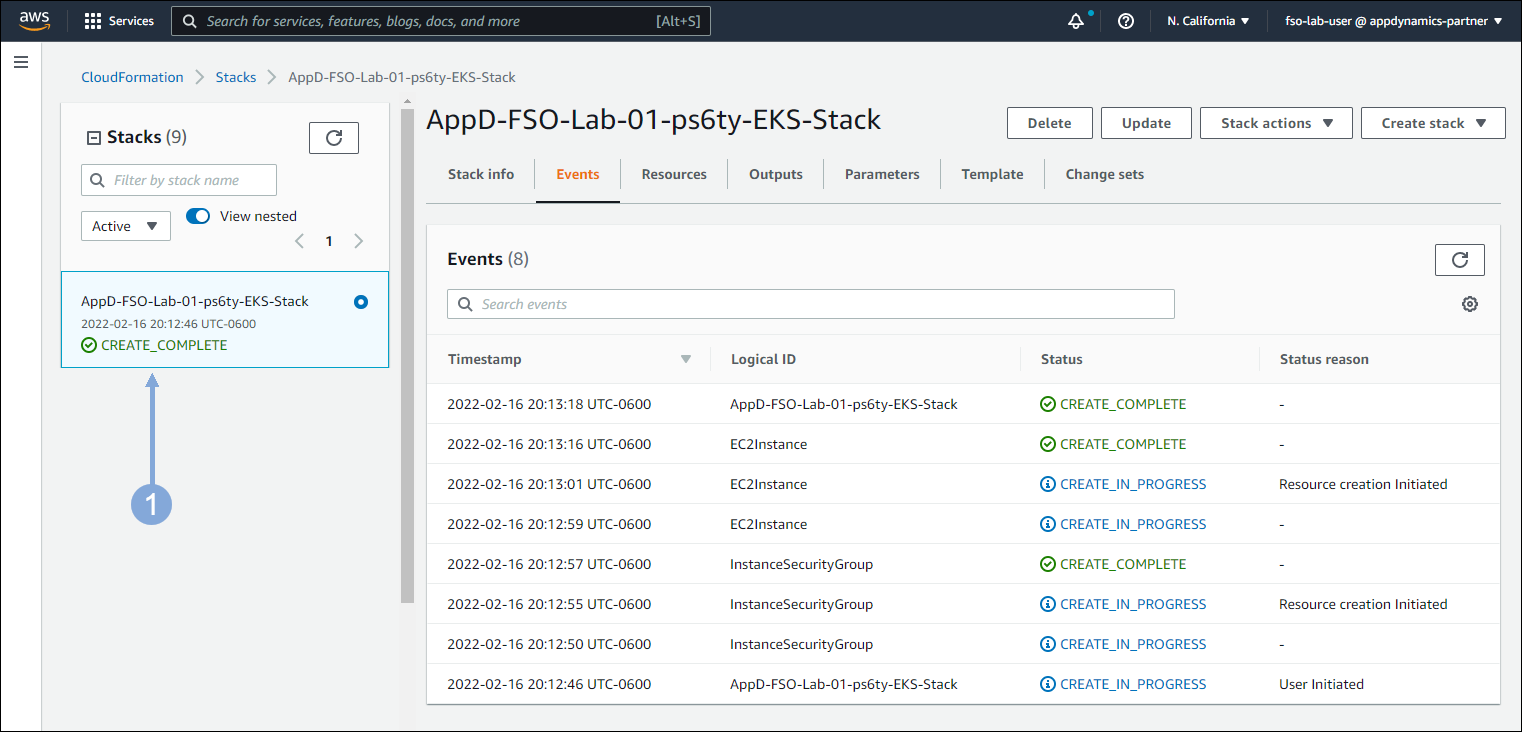
Wait for the the stack to show CREAT_COMPLETE on the left hand side
- The stack will take approximately 2-3 minutes to be created
- You can click the refresh button at the top left next to Stacks to see the status
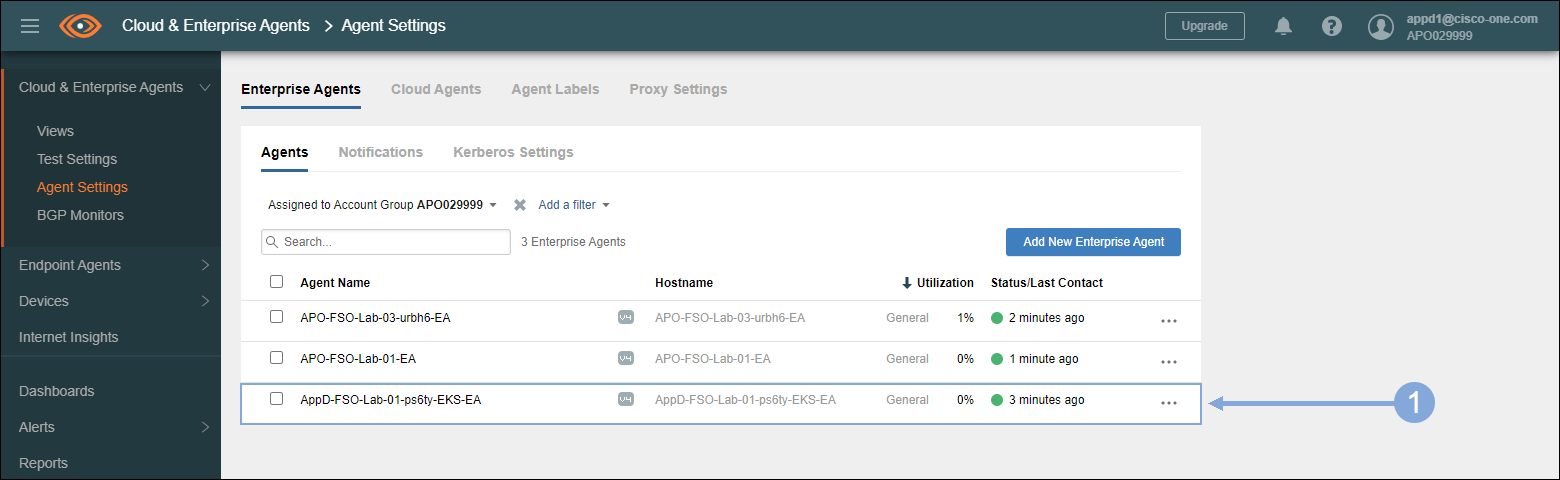
The agent you just created should appear in the Agent Settings page within about 5 minutes
Create ThousandEyes Test
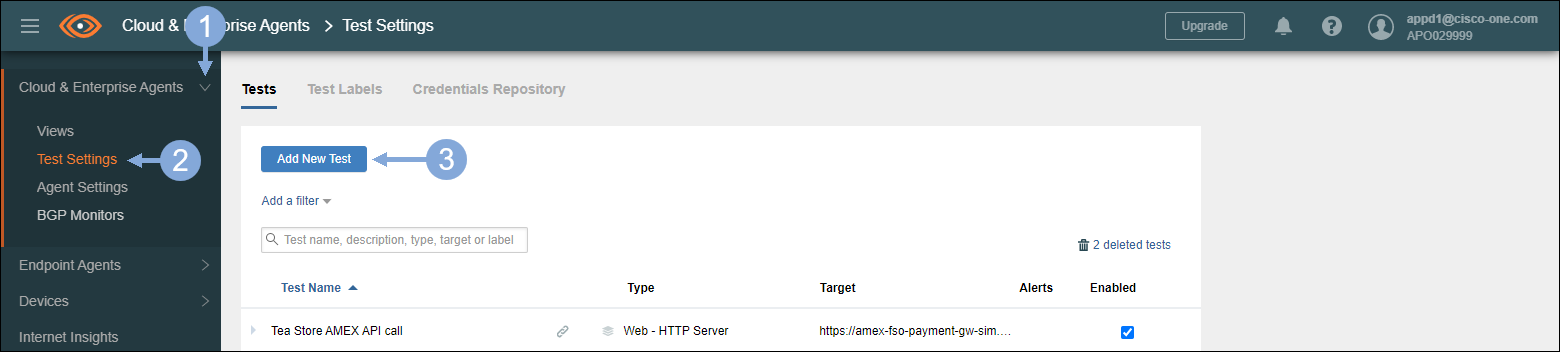
Use the steps below to begin the creation of a new Web HTTP Server test
- Click on the Cloud & Enterprise Agents tab to expand the menu on the left
- Click on the Test Settings menu option
- Click on the Add New Test button
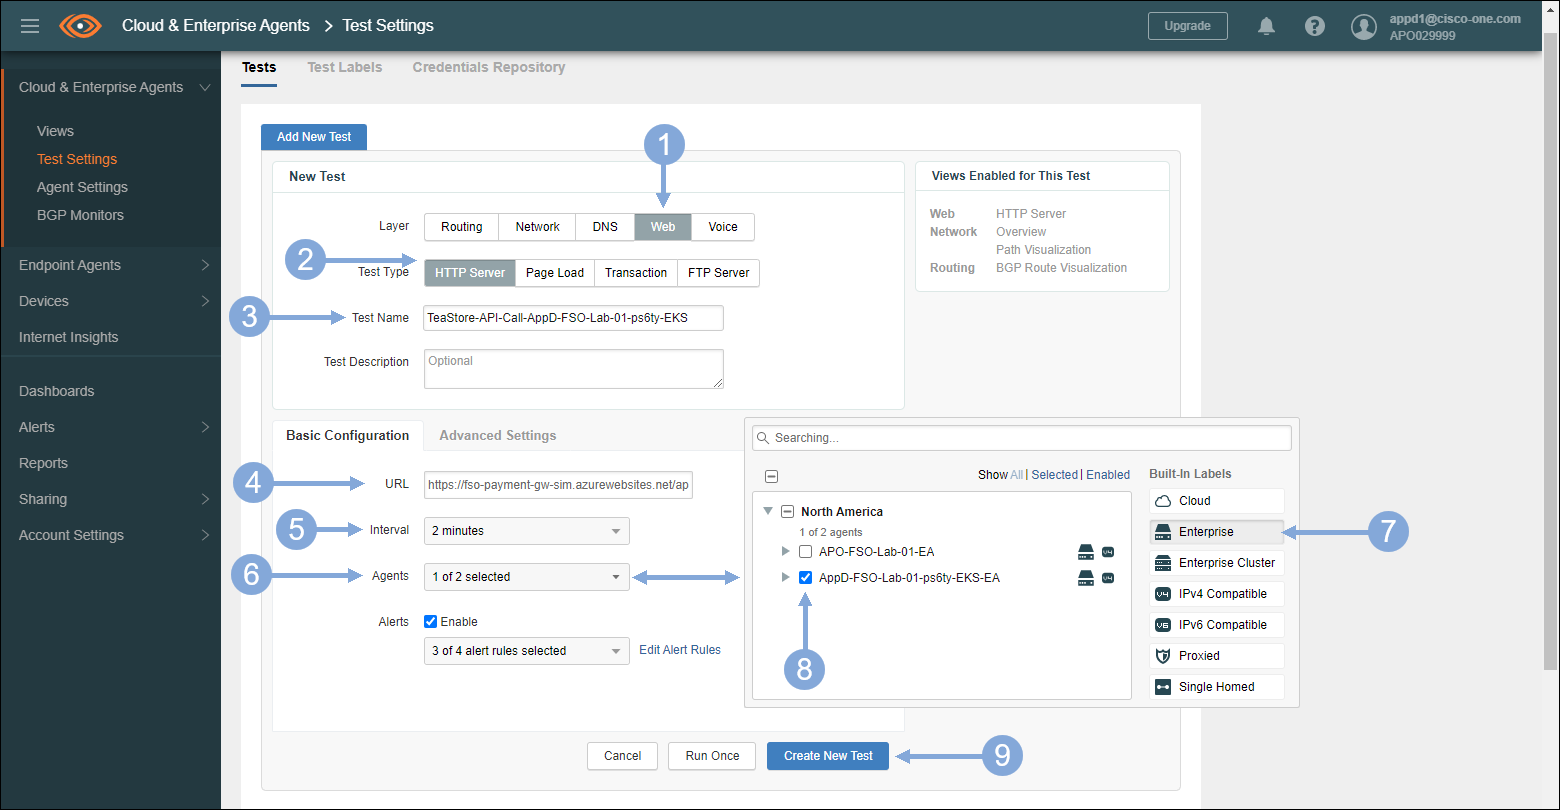
Use the steps below to configure the new Web HTTP Server test
- The Layer should be Web
- Test Type should be HTTP Server
- Test Name should be TeaStore-API-Call- followed by your EKS cluster name
- Enter https://fso-payment-gw-sim.azurewebsites.net/api/payment in the URL field
- Interval should be 2 minutes
- Click on the Agents Field
- Select Enterprise in the Built-in Labels column
- Select your agent you just created
- Click the Create New Test button
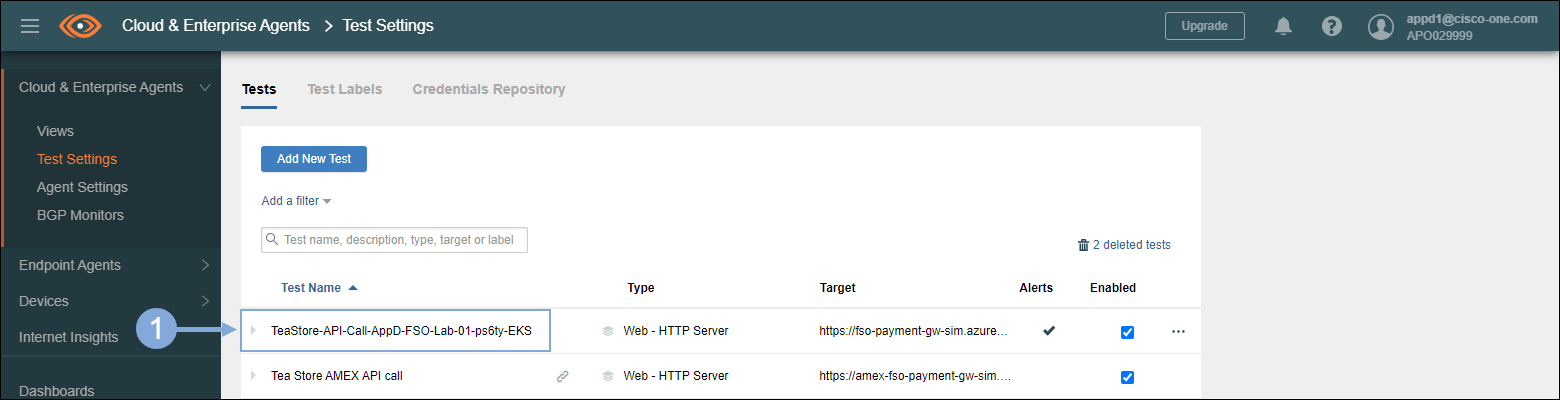
Now click on the Web HTTP Server test you just created.
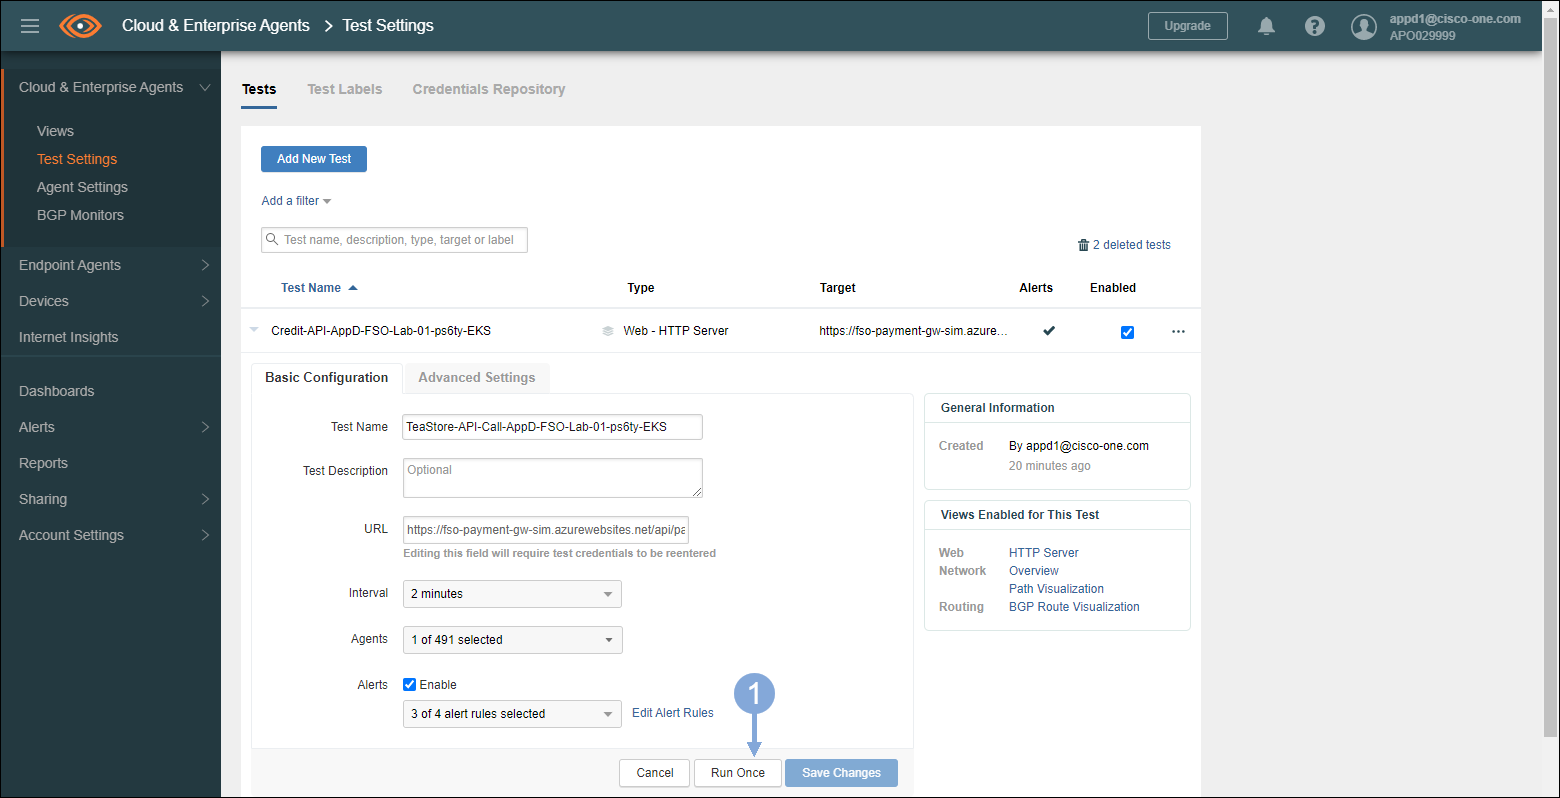
Now click on the Run Once button to run the test on-demand.
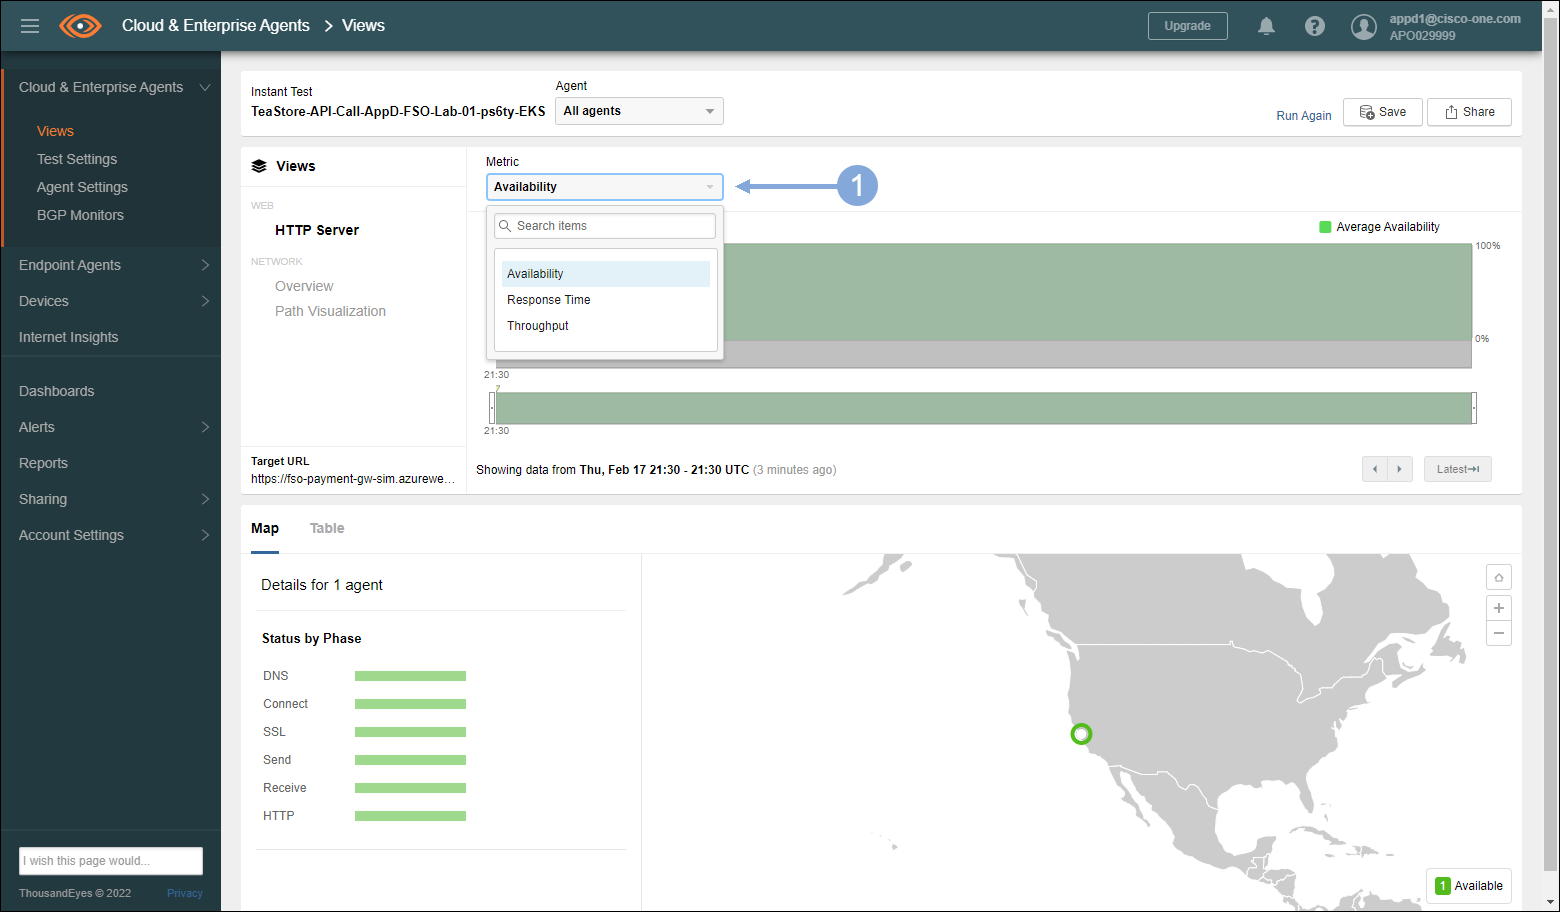
The test should run and the Views Display should appear after a couple minutes where you can look at the Availability and the Status by Phase
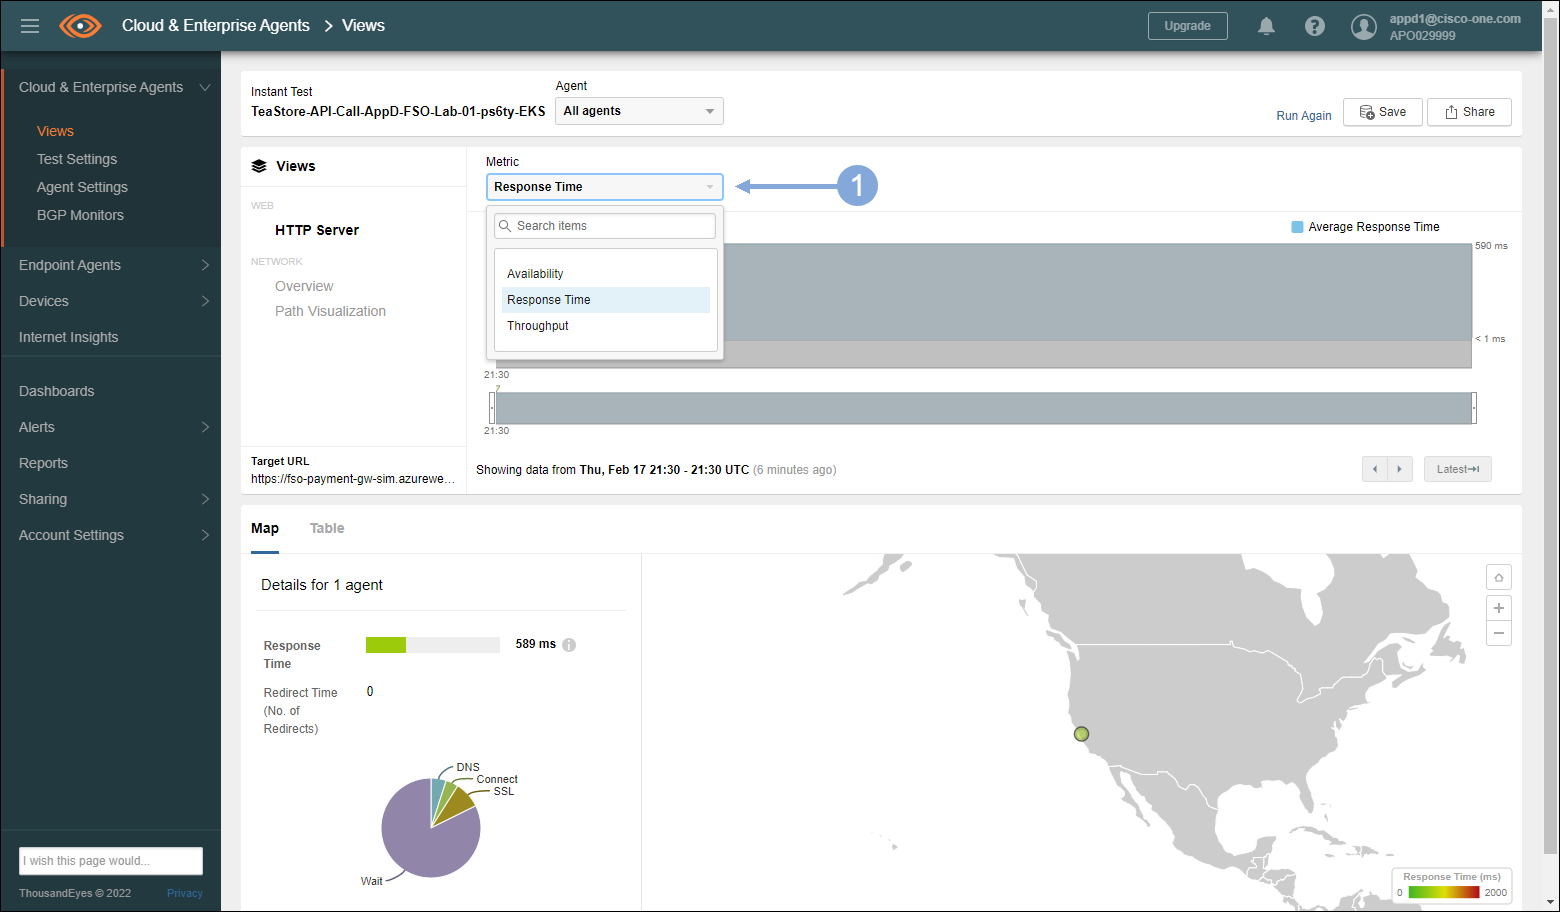
You can also select the Response Time from the Metric pull-down menu
You can also select the Path Visualization view
In the upper right of the path visualization section, you can get additional path detail by increasing the path hops by sliding the hop bar

Copy ThousandEyes Dashboard
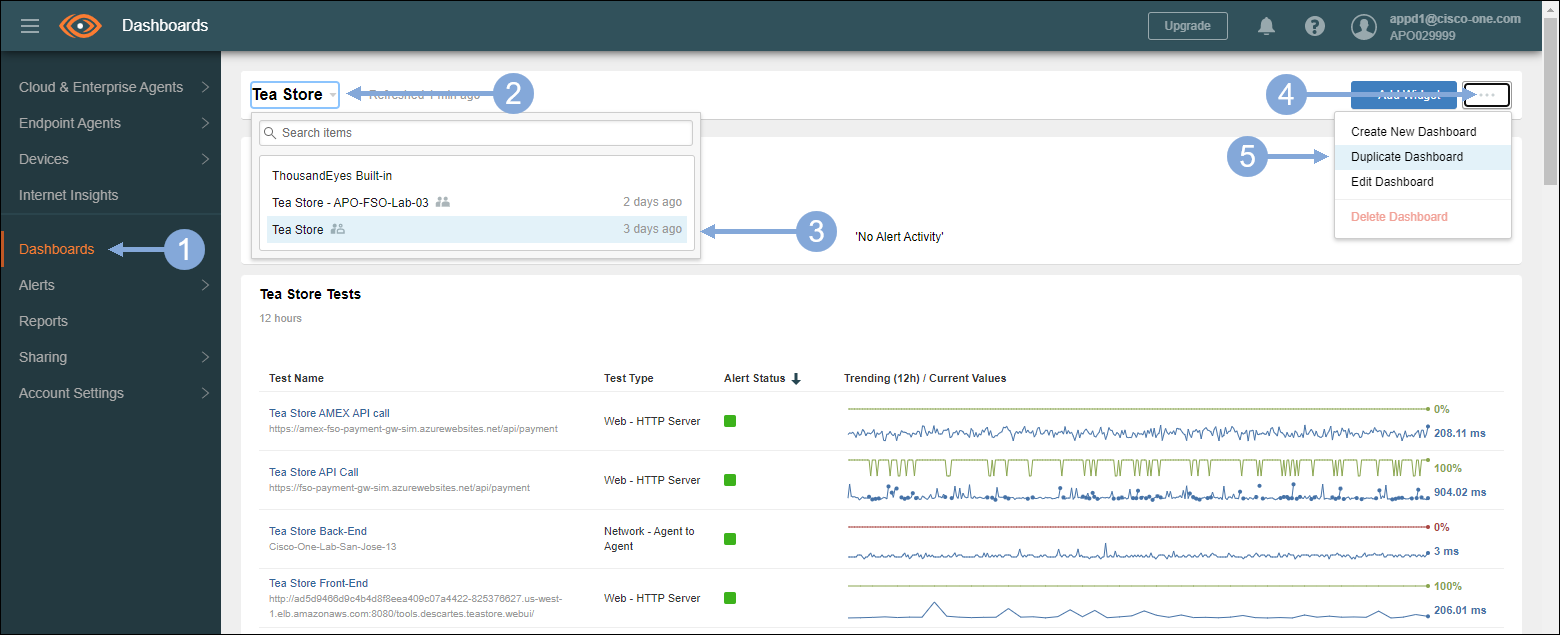
Use the steps below to start the copy of the shared ThousandEyes dashboard
- Click on the Dashboards tab on the left menu
- Click on the drop-down menu
- Select the Tea Store shared dashboard
- Click on the three ellipses to the right of Add Widget button
- Select Duplicate Dashboard
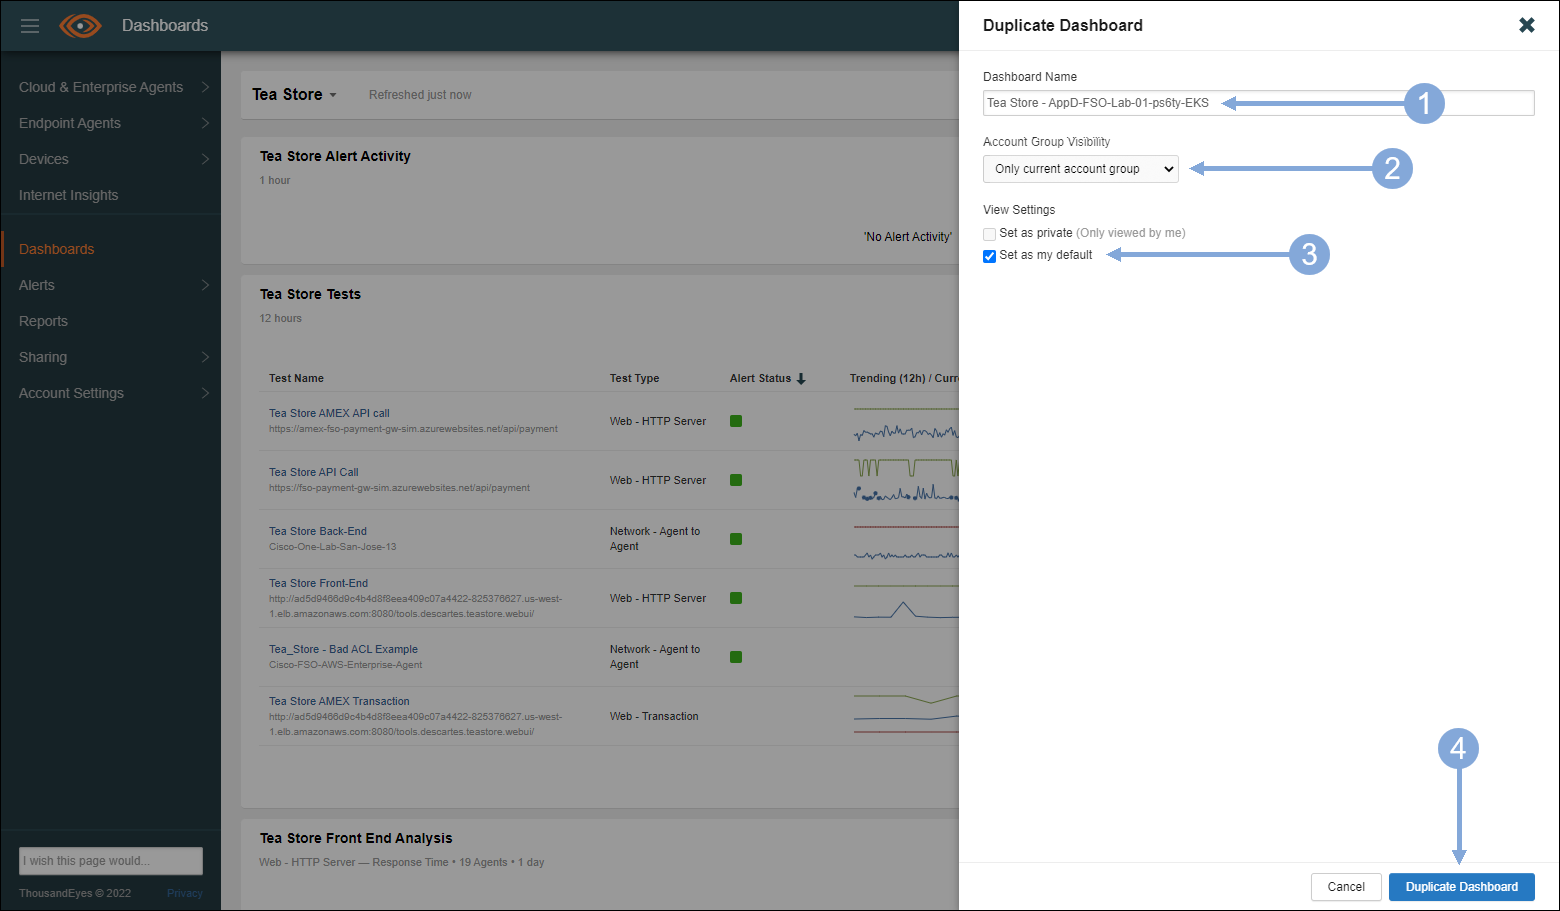
Now use the steps below to complete the copy of the shared ThousandEyes dashboard
- Name the dashboard Tea Store - and the name of your EKS cluster
- Leave the Account Group Visibility set to Only current account group
- Check the Set as my default checkbox
- Click on the Duplicate Dashboard button
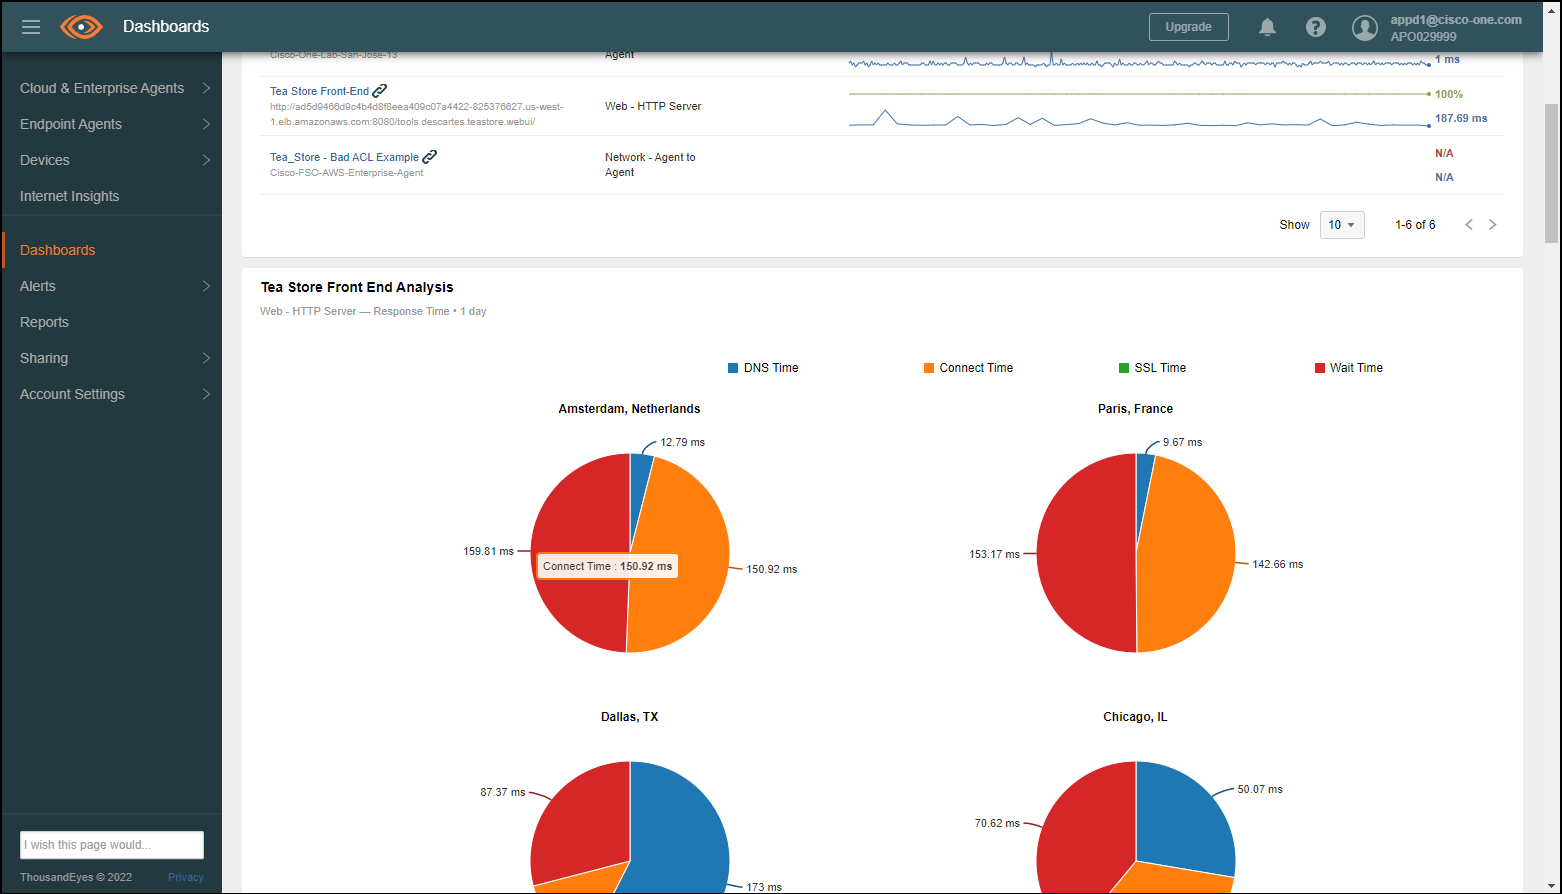
Scroll down the dashboard and explore the different metrics
Next
We’ll look at the results of your configuration with specific observability scenarios.